So I recently brought a Midori Traveller's Notebook, after I got it, I saw you could buy a craft paper type notebook for it and after looking at the notebooks I got with it, I realised it would be very easy to make my own.
While in Paperchase I saw this craft paper. 50 sheets for £4 which is quite a bargain compared to the £6 price tag you would pay for a 64 page notebook from Midori. So you are going to get two 50 page books or three 33 page books. (I've gone for two 30 page books and one 40 page book).

Here is what I used.

Ruler,
Pencil
Paper clips
Bone folder
Long reach Stapler
Craft Paper
Take 15 sheets from your pack, this will make a 30 page booklet.

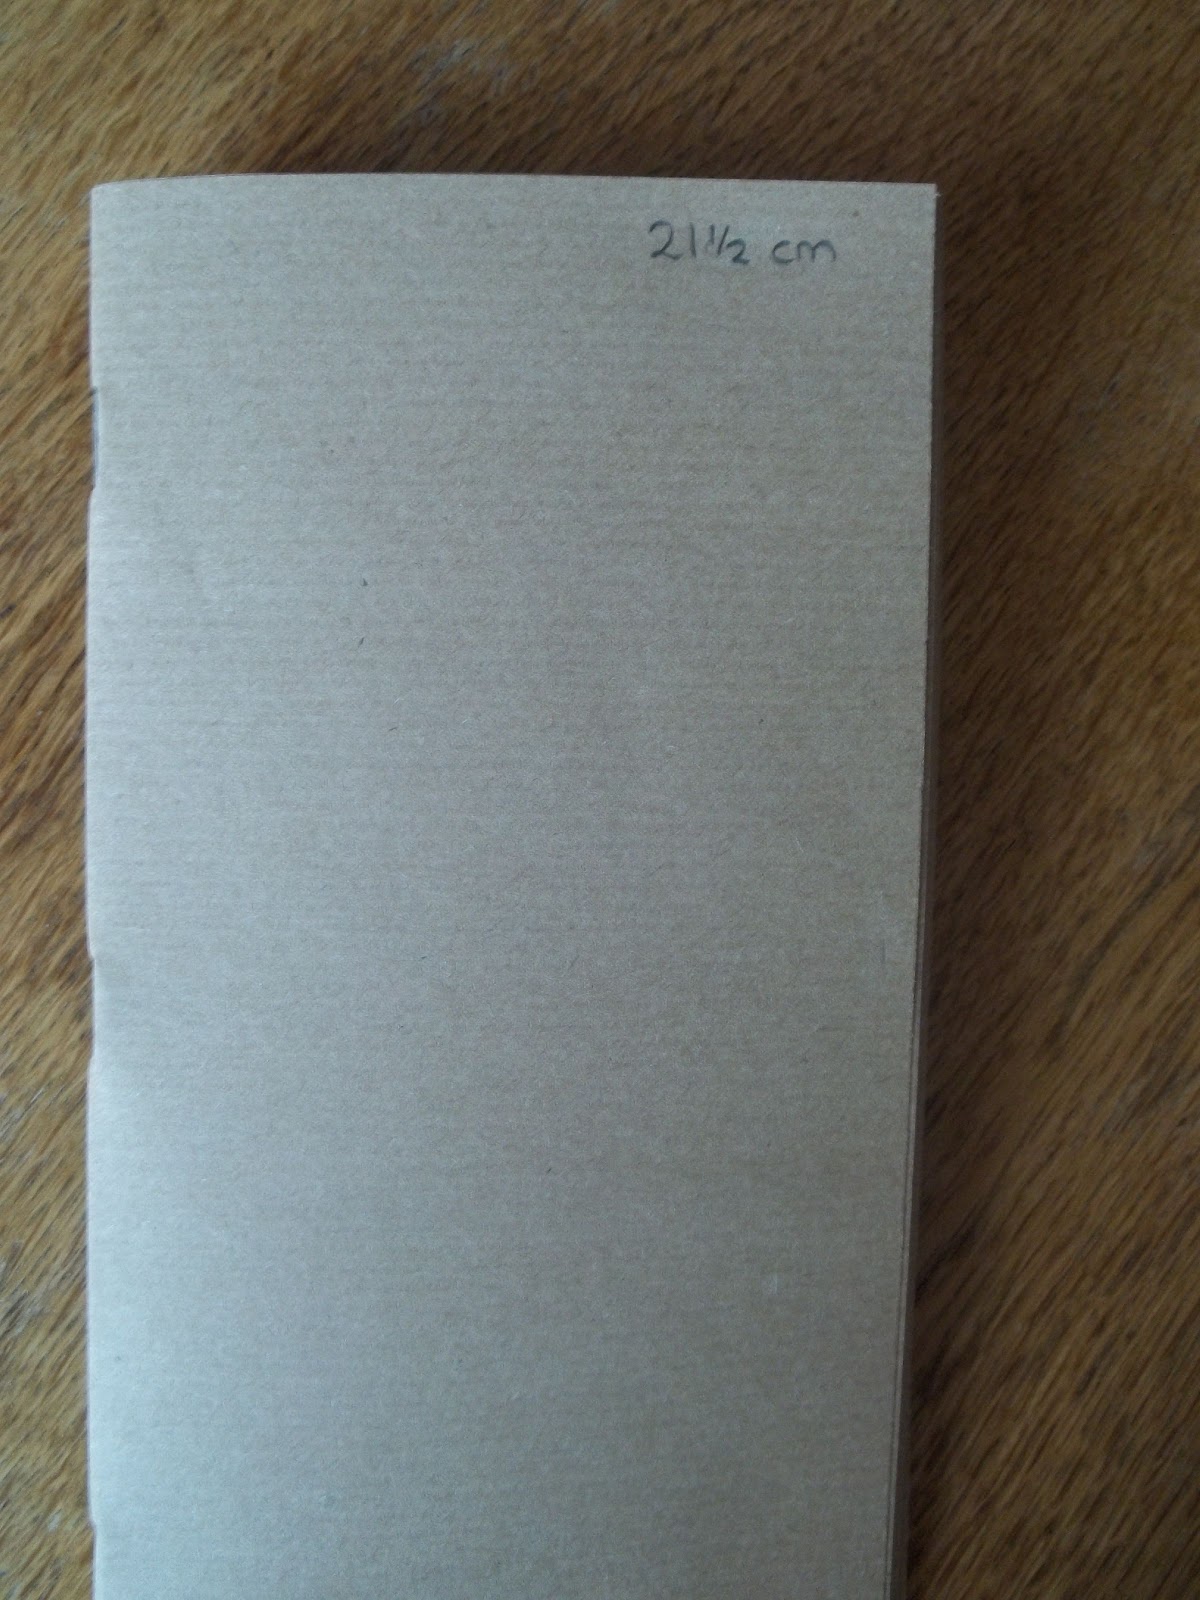
Turn your paper so it's landscape and measure 21.5cm from the left edge and draw a line.

Using the cutter, slice along the line you have just drawn.

You are left with almost a square. If you look closely there are fine lines on the paper, I have turned the paper so I can use these lines as a writing guide. You can see the lines more clearly, further down this tutorial.

Next fold each sheet in half.

Use a bone folder if you have one, it really makes those creases sharp and reduces the bulk. A big difference huh!


Next, open the pages up and put one on top of the other, line all the centres up and clip them altogether. Make sure you have the middle crease ridge on the top, so when you staple the pages, the flat edge of the staple is on the outside.


Using your long reach Stapler, staple approx 2cm from the top down the centre crease.

Repeat at the other end and in the middle.

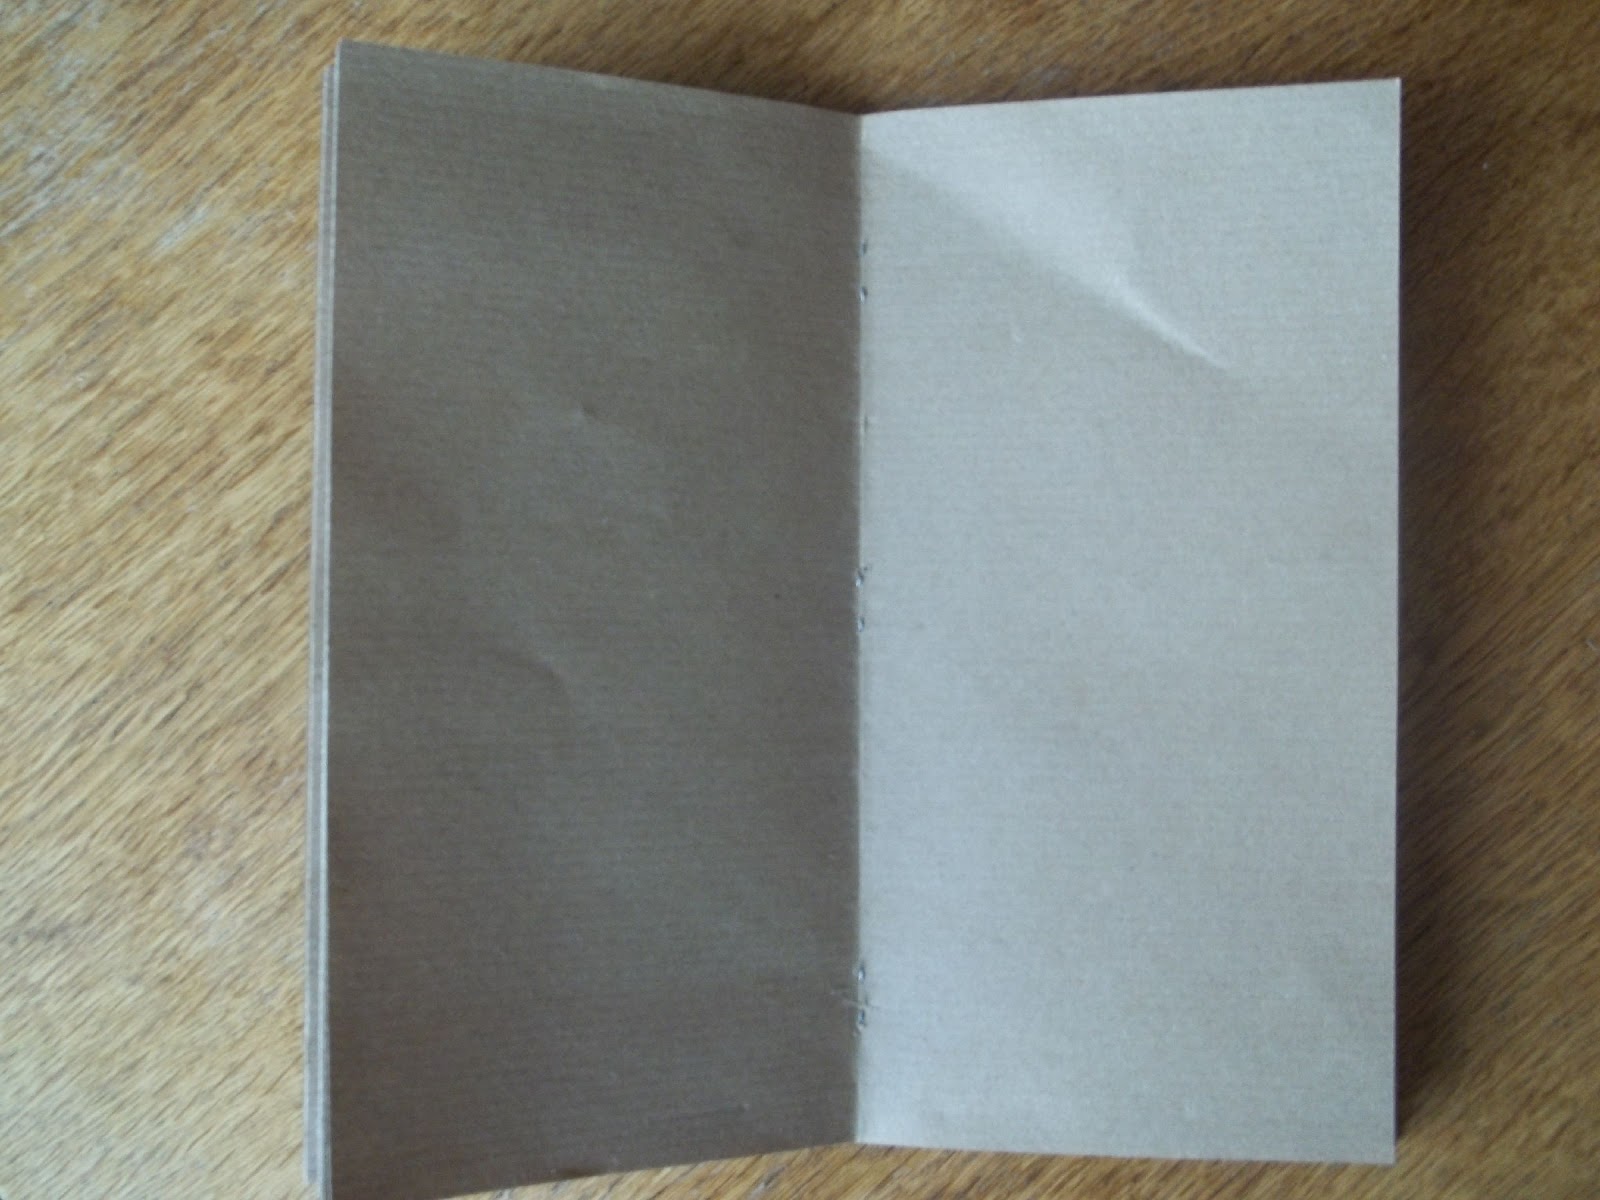
Fold your booklet together and try opening it up again, does it feel okay? You might be able to see those lines I was on about earlier, in the first picture.
Insert your craft paper notebook into your Traveler's notebook.

Looks as good as any shop bought one.

Top View:

Bottom View:

I've opted not to put a cover on this notebook but you could easily use some card stock, I don't want the Organiser to be too bulky so I left the cover off. You could use any sort of paper to make one of these notebooks, coloured, lined, grid, wallpaper even! All you need is A4 paper. I might even have a go at making this DIY Pocket I used in my Filofax.
Alternatively, with different measurements, you could make these to fit into a Filofax or the Filofax Flex.
Hope you enjoyed this tutorial, please leave comments. Thanks x
http://mylifeallinoneplace.blogspot.co.uk/2012/12/make-your-own-midori-travelers-notebook.html - great minds think alike!
ReplyDeleteLOL Thanks Ray. I was going to use the sewing Method, but I hate sewing these days. So opted for the Staple method. lol
ReplyDeleteGail, what's the attachment system you've rigged up (I think) for putting inserts in the MTN? It's most visible in the last picture on this post. Looks like the craft notebook in the middle is held by the Midori-supplied elastics (both strands) and then you have a leather cord passing through the front and back notebooks and held in place by the original one.
ReplyDeleteIs that right, and could you elaborate?
Thanks so much
Jol
Besides cardstock, another sturdy cover I've used on my homemade inserts has been to use mylar postal envelopes that I've received. They are thinner and flexible but tough, and it let me reuse something that was going to throw away.
ReplyDeleteJust taken the plunge and delighted with my notebook :)
ReplyDelete